I’ll be honest with you. I made these for the first time on a random weeknight when I was craving something crunchy and salty but trying to stay away from chips and crackers. I had pepperoni in the fridge, a block of cheese, and about fifteen minutes to spare. That’s it. No plan, no recipe — just hunger and whatever was already at home.
One batch later, I was hooked. My husband ate half of them before I even got to sit down. My kid asked if we could have them every day. And I’ve been making them on repeat ever since.
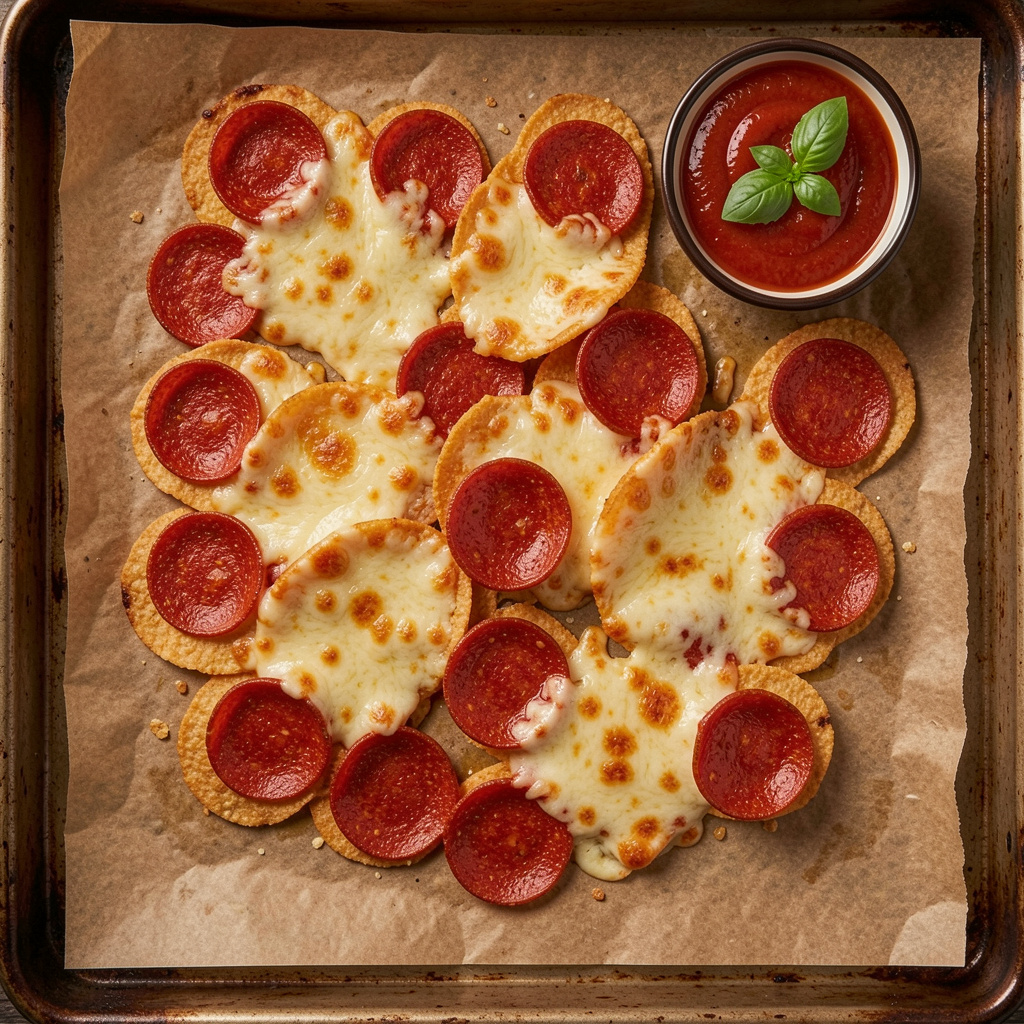
These Pepperoni Cheese Crisps are everything a snack should be — crunchy, savory, incredibly satisfying, and shockingly simple to make. They’re naturally low carb, keto-friendly, and gluten-free. But honestly, even if you’re not following any particular diet, you’ll want to make these just because they taste amazing.
Why These Crisps Work So Well
There’s a reason this recipe has become such a staple in so many households. Let me break it down.
When cheese is baked at a high temperature, the fat renders out and the proteins crisp up into a thin, crunchy wafer. It’s the same reason parmesan crisps are so popular — the cheese essentially becomes its own shell. Now add a slice of pepperoni on top of that, which also crisps up and curls slightly at the edges in the oven, and you have this incredible layered bite that’s got crunch, salt, a little grease in the best way, and that familiar pizza flavor everyone loves.
It’s comfort food, but without the carb crash afterward. That’s a pretty great combination.
Ingredients You’ll Need
(Makes about 24 crisps — roughly 4 to 6 servings)
- 24 slices of pepperoni (regular size, not the mini ones)
- 1 cup shredded mozzarella (or a mix of mozzarella and cheddar)
- ¼ teaspoon garlic powder
- ¼ teaspoon Italian seasoning
- Pinch of red pepper flakes (optional, but adds a nice kick)
- Fresh basil or parsley for garnish (optional)
Optional dipping sauce:
- Marinara sauce
- Ranch dressing
- Garlic butter
That’s the whole list. Simple, right?
A quick note on the cheese — pre-shredded works, but freshly shredded melts more evenly and crisps up better. Pre-shredded cheese often has anti-caking agents added that can affect the texture slightly. If you have five extra minutes, shred it fresh from the block. Totally worth it.
How to Make Pepperoni Cheese Crisps – Step by Step
Step 1: Preheat Your Oven
Set your oven to 400°F (200°C). Line a large baking sheet with parchment paper. This is important — parchment prevents sticking and makes cleanup a breeze. Don’t use aluminum foil directly without spraying it, or the cheese will stick and tear when you try to lift the crisps.
If you have a wire rack that fits over your baking sheet, even better. Placing the crisps on a wire rack allows air to circulate underneath, which makes them crispier on the bottom too.
Step 2: Arrange the Pepperoni
Lay your pepperoni slices flat on the prepared baking sheet. Space them about an inch apart — they don’t spread much, but you want a little room so the cheese doesn’t merge everything into one big sheet.
Try to keep them in even rows so you can add the same amount of cheese to each one. This just makes for a more consistent final result.
Step 3: Add the Cheese
Take about a teaspoon to a teaspoon and a half of shredded cheese and pile it right on top of each pepperoni slice. Press it down very gently just so it doesn’t slide off when you put the pan in the oven.
Sprinkle a tiny pinch of garlic powder and Italian seasoning over the tops. You don’t need a lot — the pepperoni already brings plenty of flavor. A light dusting is enough. If you’re using red pepper flakes, add those now too.
Step 4: Bake
Slide the tray into the preheated oven and bake for 8 to 10 minutes. Keep an eye on them starting around the 7-minute mark — oven temperatures vary, and the difference between perfectly golden and overdone is about 90 seconds here.
You’re looking for the cheese to be fully melted and starting to turn golden at the edges. The pepperoni underneath will look slightly darker and will have curled up at the edges, which is exactly what you want. That curling is a sign they’re crisping up properly.
If your oven has a broil setting, you can switch it on for the last minute or so to get a little extra color on top — just watch them very closely during this step.
Step 5: Cool Before Eating
This is the hardest part. Let them cool on the pan for 3 to 5 minutes before touching them. I know — the smell alone will test your patience. But they need that resting time to firm up completely. When they first come out of the oven, they’re still soft in the center. As they cool, they transform into those perfectly crunchy little crisps you’re after.
Use a spatula to carefully lift them off the parchment. They’ll come off cleanly and hold their shape once they’ve cooled.
Serve them with marinara sauce for dipping and a sprinkle of fresh basil on top if you have it.
Tips for the Crispiest Results

Don’t overload the cheese. It’s tempting to pile it on, but too much cheese means it takes longer to crisp up and can end up chewy in the middle instead of crunchy. A heaped teaspoon per slice is the sweet spot.
Pat the pepperoni dry if it looks oily. Some brands of pepperoni release quite a bit of grease. If yours looks extra wet out of the package, give each slice a quick pat with a paper towel before laying it on the pan.
Try different cheese combinations. Mozzarella on its own is mild and melts beautifully. A mix of mozzarella and sharp cheddar gives you more flavor. Parmesan mixed in adds a nutty, salty depth that’s absolutely delicious. Play around and find your favorite combination.
Use a silicone baking mat if you have one. It works just as well as parchment paper and gives you an even crispier bottom.
Let them cool completely for maximum crunch. If you’re making these ahead of time, let them cool fully before storing. Storing them warm traps steam and makes them go soft.
Air Fryer Method
If you have an air fryer, this method is even faster and gives incredibly crispy results.
Arrange the pepperoni in a single layer in your air fryer basket — don’t overlap them. Add the cheese on top. Air fry at 375°F (190°C) for 5 to 6 minutes until the cheese is golden and the pepperoni is crispy.
Check at 5 minutes. Every air fryer is slightly different, so your first batch might need a little adjustment. Once you figure out the timing for your machine, it becomes completely foolproof.
Let them rest for 2 minutes after cooking — same principle as the oven method. They firm up as they cool.
Flavor Variations to Try
Pizza Crisps: Add a tiny dollop of pizza sauce under the cheese before baking. It’s a little messy but absolutely worth it.
Jalapeño Pepperoni Crisps: Add a thin slice of pickled jalapeño on top of the cheese before baking. The heat from the jalapeño with the richness of the cheese is seriously addictive.
Everything Bagel Crisps: Sprinkle everything bagel seasoning over the cheese instead of Italian seasoning. The poppy seeds, onion, and garlic add a completely different but equally delicious flavor.
Buffalo Chicken Style: Swap the pepperoni for cooked shredded chicken tossed in buffalo sauce, then top with mozzarella. Totally different vibe, but still a great low-carb snack.
How to Store Leftovers
Let the crisps cool completely, then store them in an airtight container at room temperature for up to 2 days. Do not refrigerate them — the moisture in the fridge will make them soggy.
To re-crisp them, pop them back in the oven at 375°F for 3 to 4 minutes, or give them a quick 2-minute blast in the air fryer. They’ll come back to life perfectly.
Honestly though, leftovers are rarely a problem in my house. These usually vanish within the hour.
Are These Actually Healthy?
For anyone watching their carbohydrate intake — yes, these are genuinely low carb. Each crisp has virtually zero carbs. The calories come mostly from fat and protein, which is exactly what keeps you feeling full and satisfied longer than a bag of chips ever would.
They’re also naturally gluten-free, which makes them a great option for anyone with gluten sensitivities.
That said, pepperoni and cheese are both high in sodium, so if you’re watching your salt intake, keep portion sizes in mind. A serving of 4 to 6 crisps is satisfying without going overboard.